Showing posts with label holidays. Show all posts

Valentine’s Day / La Saint-Valentin


Looking for a FREE Valentine’s Day activity for your class? I’ve got you covered. Click HERE to download the FREE BOOM Cards featuring Valentine’s Day vocabulary to use in your classroom or at home with your own kiddos. 

***Uses Elkonin boxes to help with spelling.***


en français     in English    en español


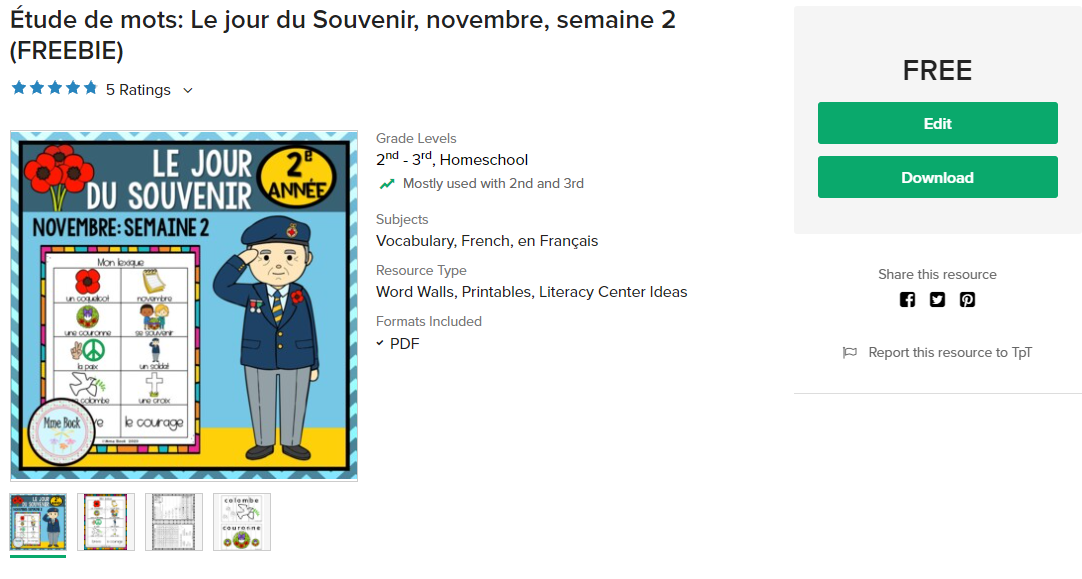
And for French Teachers out there, I also have a FREE “Étude de mots” product too. The Boom Cards (above) and this product use the same 10 vocabulary words. Included in this product is a student booklet, word wall cards, posters, vertical puzzles all centered on 10 themed vocabulary words. Did I mention it’s FREE? Visit my TpT store to grab your very own copy. 

Please note: This is currently only available in French.


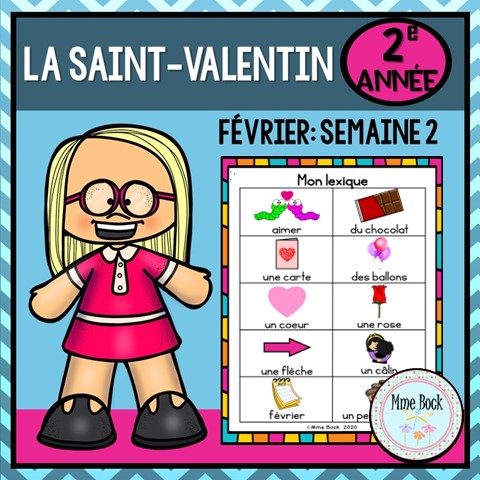
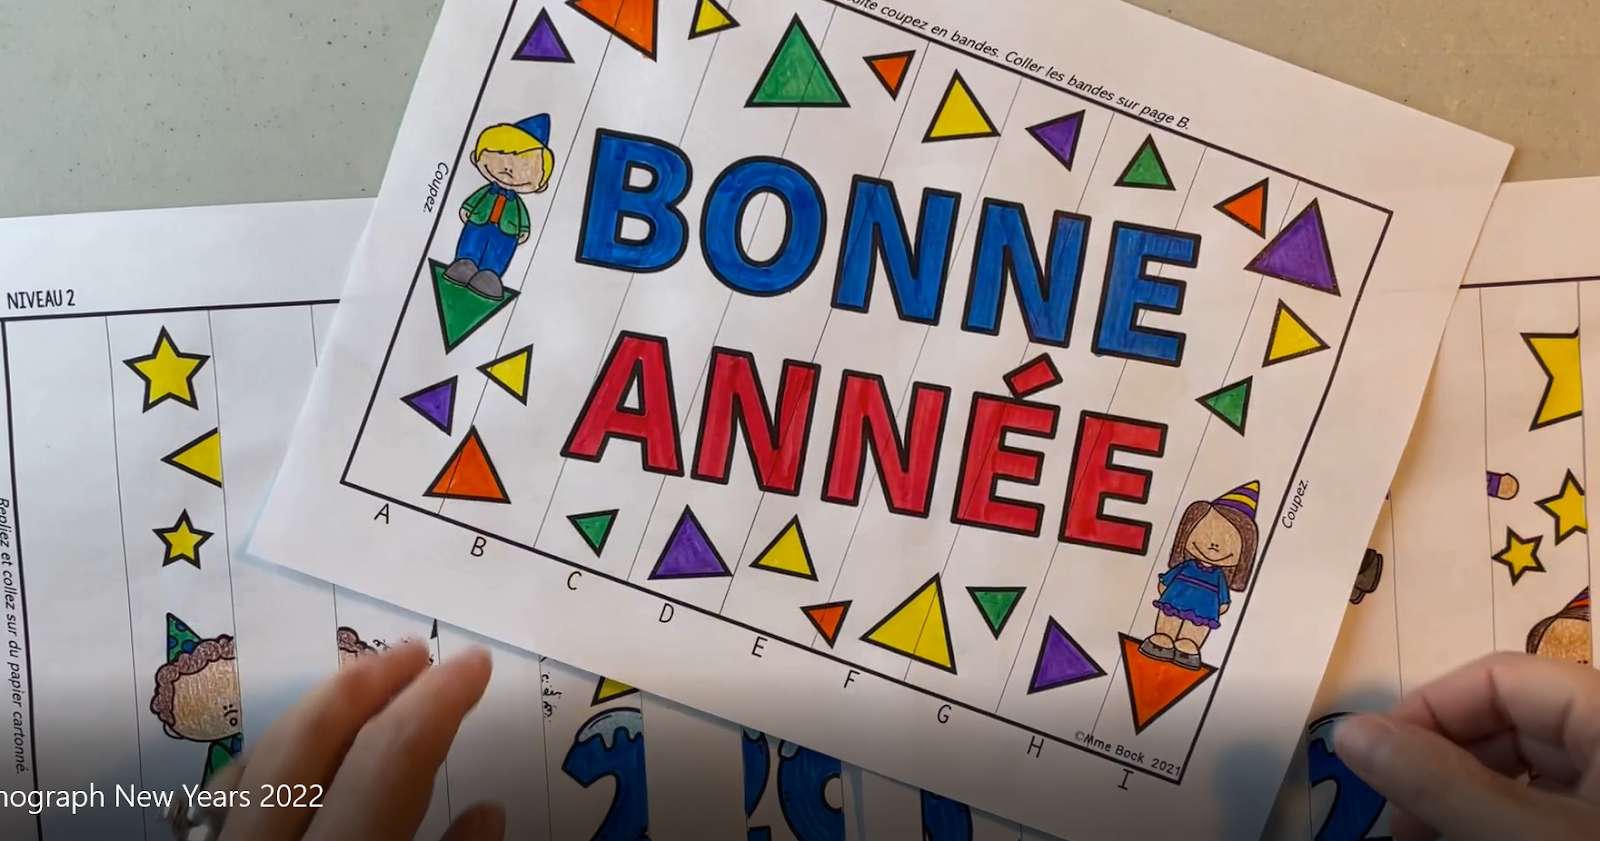
en Français seulement


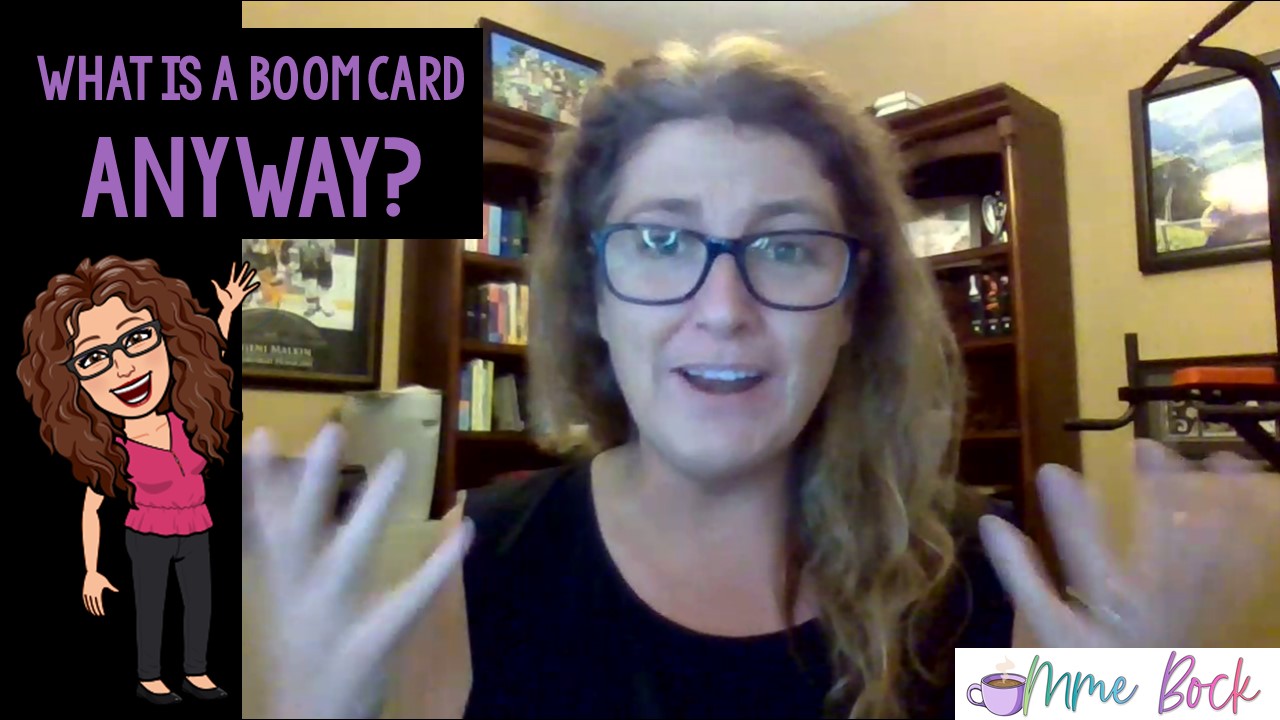
What are BOOM Cards ANYWAY? 

The short answer: BOOM Cards are self-checking digital task cards. Click on the link below to see some in action (YouTube video).


Don’t have a BoomLearning.com account yet?

Getting a FREE account is super simple to set up. Click HERE to get instructions on how to create your own account. In this YouTube video, I also show you how to assign BOOM Cards to your class (“Fast Pin” and/or Google Classroom™). 

Your kiddos will thank you for getting them started on BOOM, I promise!


Happy Valentine’s Day!

Stacey Sign Off Image
I've been toying with this idea for a while... 

- How can I help teachers get exactly what they need
to support their own students. - 

Then it finally dawned on me, let THEM tell ME what they want!

In this moment of clarity, I decided to provide a "Create Your Own Custom Bundle" resource in my TpT store (et dans ma boutique Mieux Enseigner si vous préférez).


Here's how it works:
1. Make a list of resources you would like bundled together from my TpT store (ou Mieux Enseigner).
2. Send the list to me at MmeBock@gmail.com
3. Once I've listed it in my store, I will send you a link (via email) for your Custom Bundle.
4. Purchase your Custom Bundle through the store and download your new discounted resources.

Your Custom Bundle:
> will be ready for you within 24-48 hours
> must total at least $15 before discounts
> will be 20% off the regular price

Let me help you create a TpT Sale anytime YOU want it!

Download the free instruction sheet on TpT by clicking here (ou ici pour la boutique Mieux Enseigner).


Stacey Sign Off Image

Looking for a fun way for your students to demonstrate their understanding of simple patterning attributes? Try this QUICK and EASY activity with your class!


We did this activity during the week leading up to our Winter Break as a fun way for me to evaluate their understanding of simple patterning. Most kids chose to use a “festive” theme, but it was not a mandatory element by any means. I guess they just had thoughts of gingerbreads and snowflakes dancing around in their minds LOL.


STEP 1:

Grab your FREE sweater template here.

IN ENGLISH        EN FRANÇAIS


STEP 2:

Review simple patterning attributes with your class.


  1. Colour (la couleur)


  1. Shape (la forme)


  1. Size (la taille)


  1. Number… and colour in this case (le nombre)


  1. Position (la position)


STEP 3:

Hand out sweaters to your students. I asked my class to create 3 different patterns on their sweaters. They had to demonstrate at least 2 attributes in each pattern (but were welcome to use more than 2).


STEP 4:

Identify which attributes they demonstrated in each of their patterns. 

> “In my first pattern, I changed the colour and the shape.”

> “J’ai changé la couleur et la forme dans ma première suite.”


FULL DISCLOSURE: I fully intended to have them type out their response so I could print them out and post it under their sweater. BUT, to be completely honest, we were quickly running out of time in our class. I decided that it was far more important to catch a glimpse into their understanding of patterning attributes than having the perfect final product, so I just got them to flip their sweater over and list the attributes right there. Not pretty, but it works, right?  ;)


Here are a few samples of my kiddos work.


If you end up using this activity (or even a modified version of it, I would love to hear how it went and to see your final products! Leave a comment down below or send me an email.


Stacey Sign Off Image

*** UPDATED for 2024 ***


Step By Step AGAMOGRAPH ART


Looking for a slow-paced art activity to ease everyone back into the swing of things after the Holiday Break? Here’s what we’ll be doing in our class in January. I will set the mood with soft music and let my kiddos take their time with this super cool, little art project. 😎


So, what is an AGAMOGRAPH anyway?

“An agamograph is an art form that uses optical illusion to create changes when you look at it from different angles.” (source: www.artscenterlive.org)

It was named after Isreali sculptor and experimental artist Yaacov Agam, who is widely known for his contributions to optical and kinetic art.


I’ve seen this type of art for years but never attempted one myself, until now.

Click here to watch my YouTube video where I take you through the process step by step. 


To make sure that kids of many different ages and abilities can be successful with this, I’ve created templates with 3 levels of difficulty.

Level 1: requires minimal cutting and pasting

Level 2: as seen on video

Level 3: from “scratch”

You can decide how much your kiddos can handle. You can find your FREE templates in my TpT store. 

HAPPY NEW YEAR BONNE ANNÉE ¡FELIZ AÑO NUEVO!


What you need:

FREE templates
* FREE templates (found in my TpT store)
* markers or pencil crayons
* scissors
* glue stick
* optional cardstock to glue it onto (but I prefer to keep it as an accordion)

Step 1:

Choose your language and download your templates.

HAPPY NEW YEAR BONNE ANNÉE ¡FELIZ AÑO NUEVO!


Step 2:

Colour your images.


Step 3:

Cut off the excess paper. Be careful to keep the parts you need to keep (indicated on the pages).


Step 4:

Glue the strips onto the templates. Pay close attention to where the strips go. Then trim off the excess letters/numbers once you’re done.


Step 5:

Glue your two templates together. The edge of page A is glued behind the first strip of page B.


Step 6:

Fold like an accordion. 


Spread back out, step back, and admire your work of art!


Stacey Sign Off Image

You've probably seen this type of beautiful poppy art on Pinterest or Instagram. I take you through the process step by step. 


Not an "artsy" teacher? No problem! Just press play and let me quickly demonstrate it to your class for you! Click HERE to skip the reading below and just watch the YouTube Video. It’s just under 1min long from beginning to end,  because we’re ALL pressed for time, aren’t we?


What you will need.

* construction paper:

> black (background and poppy center)

> red (poppy template photocopied onto red)

> grey (song lyrics photocopied onto grey)

> green (stem)

* scissors

* glue stick

* optional newsprint (instead of grey construction paper)


Step 1:

Download, print and photocopy poppy template onto red construction paper.

English Template

French Template


Step 2:

Select the lyrics to your favourite Remembrance Day song, (or just lovely messages of hope, being thankful for their sacrifice, etc…) Copy and paste, paste, paste, until it fills a page. Print and photocopy onto grey construction paper. 

OR

Find newspapers with lots of writing instead. I find newspapers hard to come by around here nowadays, so I opted to print the song we’re learning for Remembrance Day this year.


Step 3:

Rip the outer edge of your “newsprint” (all the way around). 

PRO TIP: Make sure there are NO straight edges anywhere. Then rip the page into larger pieces. I chose to go diagonally, but kids are welcome to do whatever they like. 

They should limit the number of pieces to 3-5 pieces to allow space between pieces when glueing them down.


GLUE the “newsprint” onto the black construction paper. Allow for some space between the pieces.


Step 4:

Cut the poppy pieces out and assemble (as per instructions). Once done, GLUE it onto your project.

PRO TIP: When glueing the top part of the poppy onto the lower part, turn it 45 degrees to give it more depth.


Step 5:

Cut out a slightly curved “stem” out of green paper and GLUE it onto your project starting at the very bottom of the page.


And VOILÀ! You’re done!


Stacey Sign Off Image

Le Jour du Souvenir - FREEBIE


Looking for a FREE Remembrance Day activity for your class? Look no further. I have created a student booklet, word wall cards, posters, vertical puzzles all centered on 10 Remembrance Day vocabulary words. Did I mention it’s FREE? Visit my TpT store to grab your very own copy.


Oh, I can’t forget to mention that I also have a FREE deck of BOOM Cards that accompany this FREE product too. Click HERE to get your very own copy of the matching Le Jour du Souvenir BOOM Cards


Don’t know what BOOM Cards are? 

I’ve posted a short YouTube video:

> explaining what BOOM Cards are;

> giving a small peek at different types of BOOM Cards in action.


Don’t have a BoomLearning.com account yet?

I can help you get one set up. Click HERE to get instructions on how to create your own FREE account. In this YouTube video, I also show you how to assign BOOM Cards to your class (“Fast Pin” and/or Google Classroom™). 

Your kiddos will thank you for getting them started on BOOM, I promise!


Stacey Sign Off Image