*** UPDATED for 2024 ***
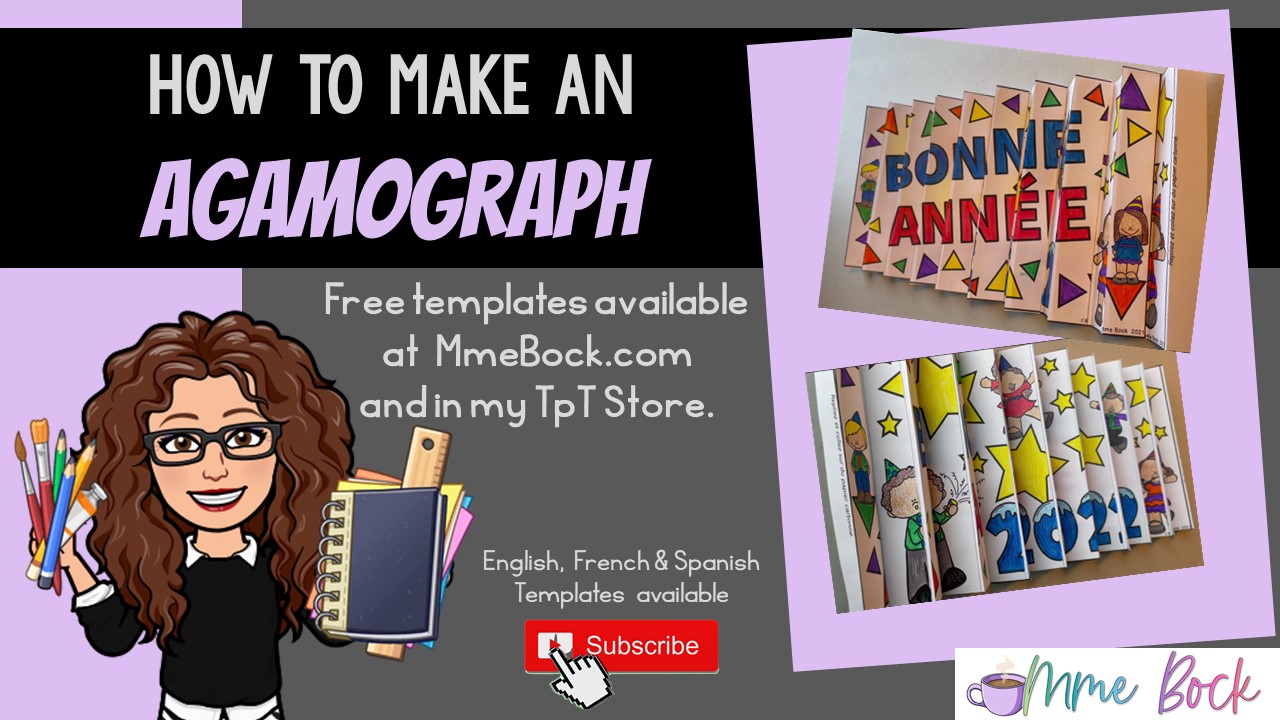
Step By Step AGAMOGRAPH ART
Looking for a slow-paced art activity to ease everyone back into the swing of things after the Holiday Break? Here’s what we’ll be doing in our class in January. I will set the mood with soft music and let my kiddos take their time with this super cool, little art project. 😎
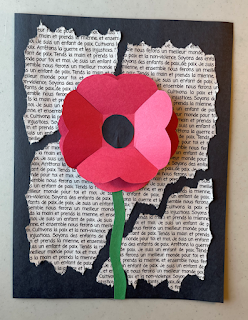
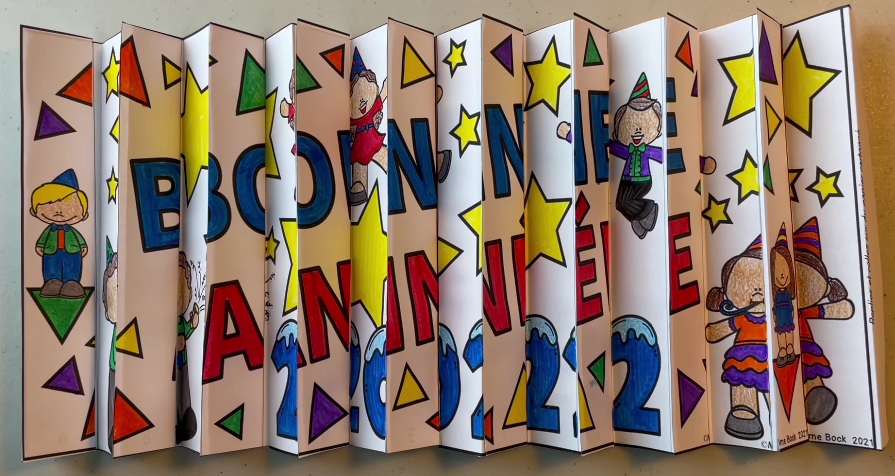
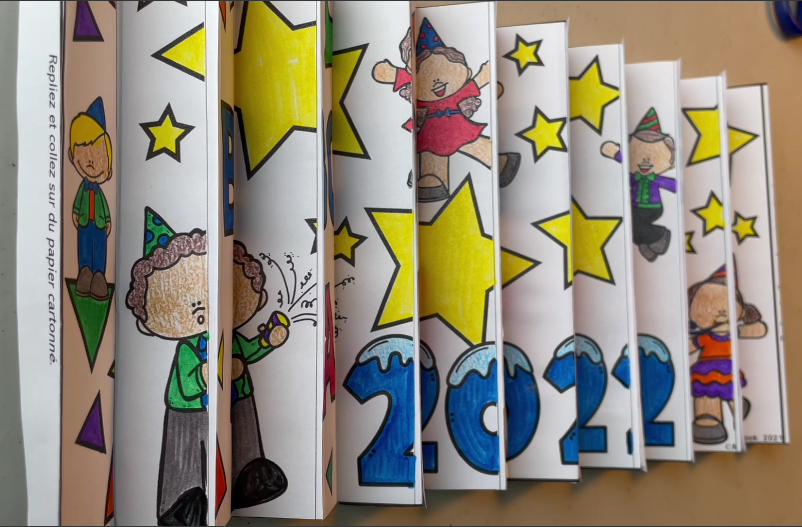
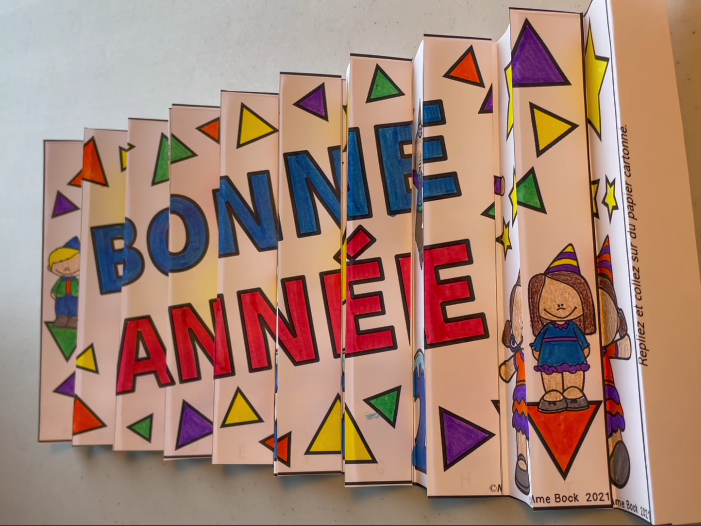
So, what is an AGAMOGRAPH anyway?
“An agamograph is an art form that uses optical illusion to create changes when you look at it from different angles.” (source: www.artscenterlive.org)
It was named after Isreali sculptor and experimental artist Yaacov Agam, who is widely known for his contributions to optical and kinetic art.
I’ve seen this type of art for years but never attempted one myself, until now.
Click here to watch my YouTube video where I take you through the process step by step.
To make sure that kids of many different ages and abilities can be successful with this, I’ve created templates with 3 levels of difficulty.
Level 1: requires minimal cutting and pasting
Level 2: as seen on video
Level 3: from “scratch”
You can decide how much your kiddos can handle. You can find your FREE templates in my TpT store.
HAPPY NEW YEAR BONNE ANNÉE ¡FELIZ AÑO NUEVO!
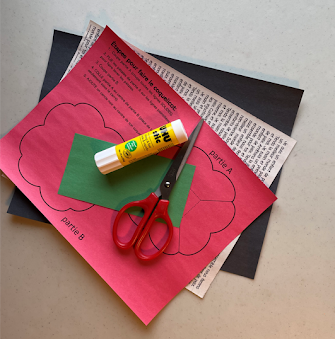
What you need:
 *
* Step 1:
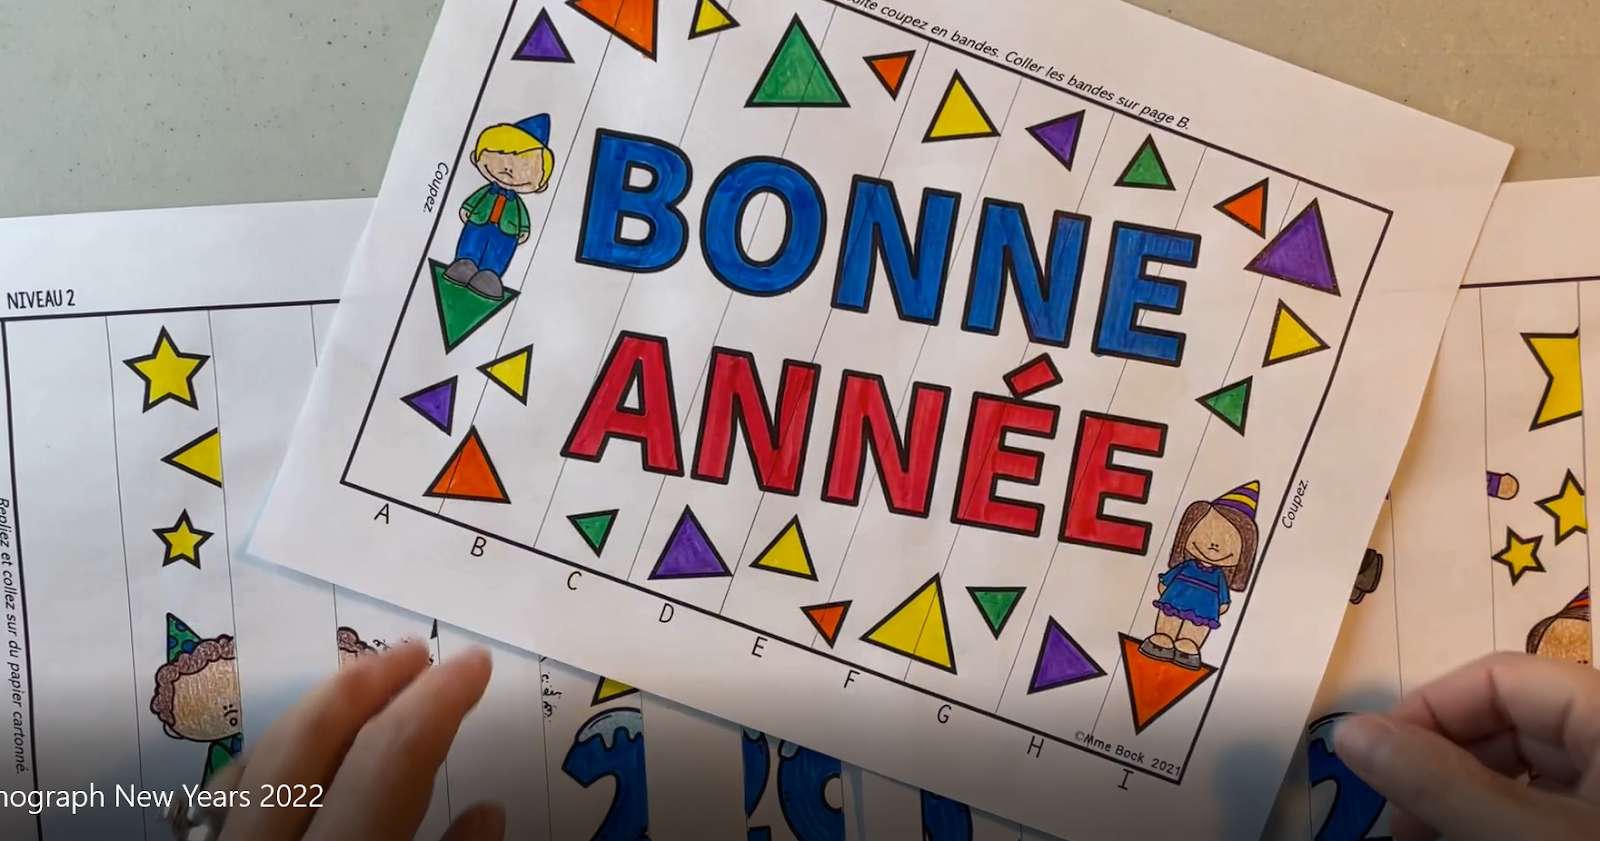
Choose your language and download your templates.
HAPPY NEW YEAR BONNE ANNÉE ¡FELIZ AÑO NUEVO!
Step 2:
Colour your images.
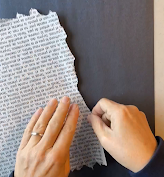
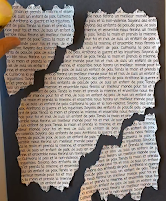
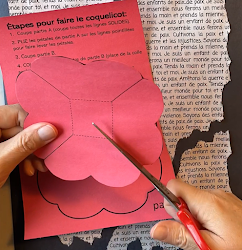
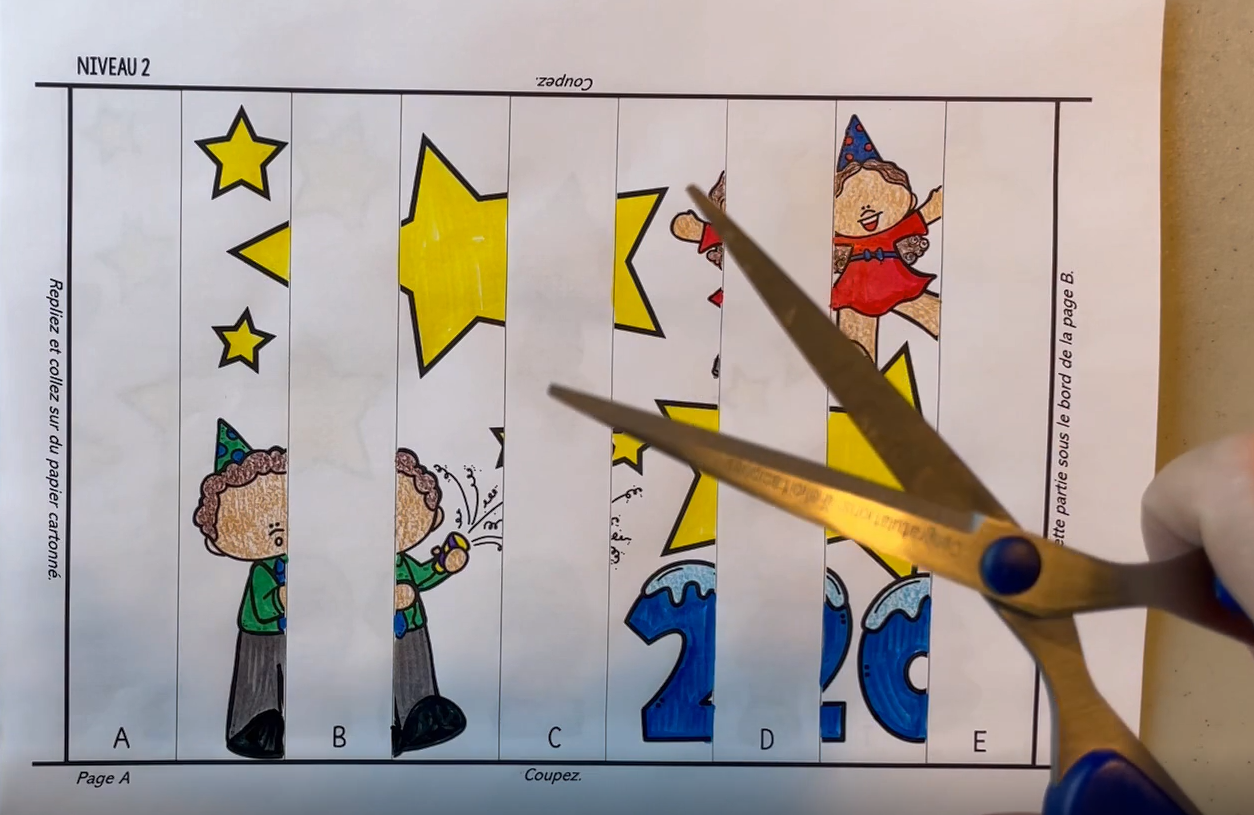
Step 3:
Cut off the excess paper. Be careful to keep the parts you need to keep (indicated on the pages).
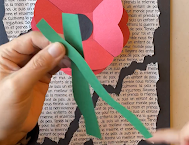
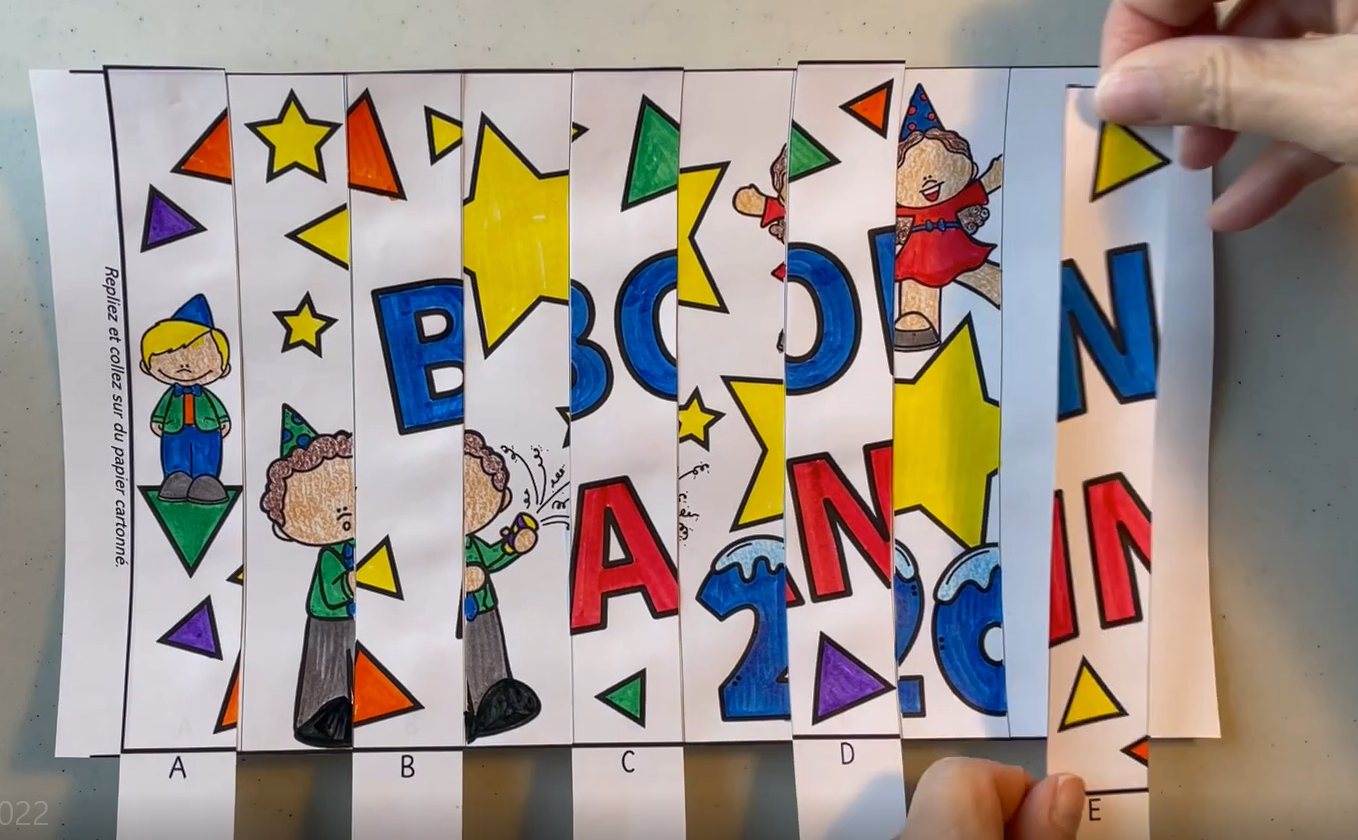
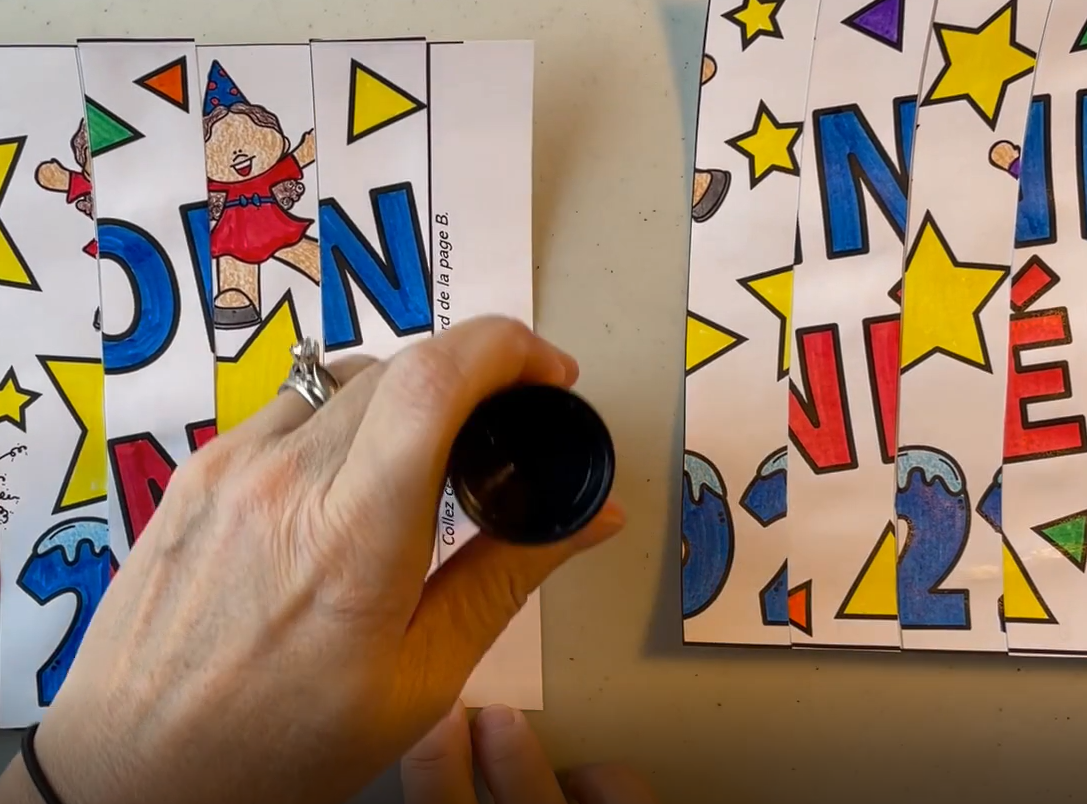
Step 4:
Glue the strips onto the templates. Pay close attention to where the strips go. Then trim off the excess letters/numbers once you’re done.
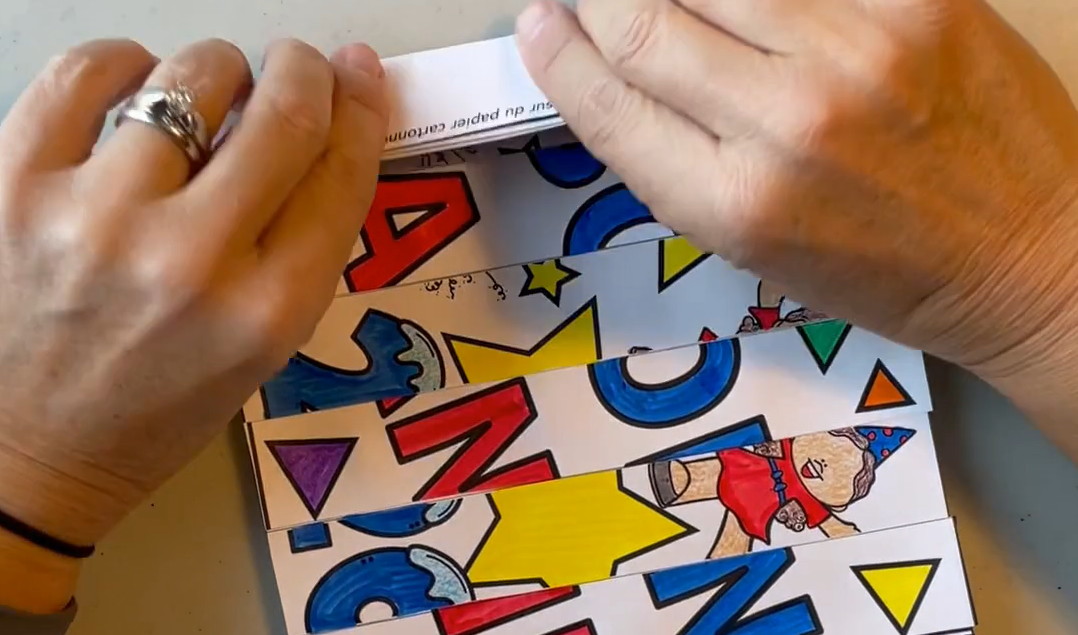
Step 5:
Glue your two templates together. The edge of page A is glued behind the first strip of page B.
Step 6:
Fold like an accordion.
Spread back out, step back, and admire your work of art!